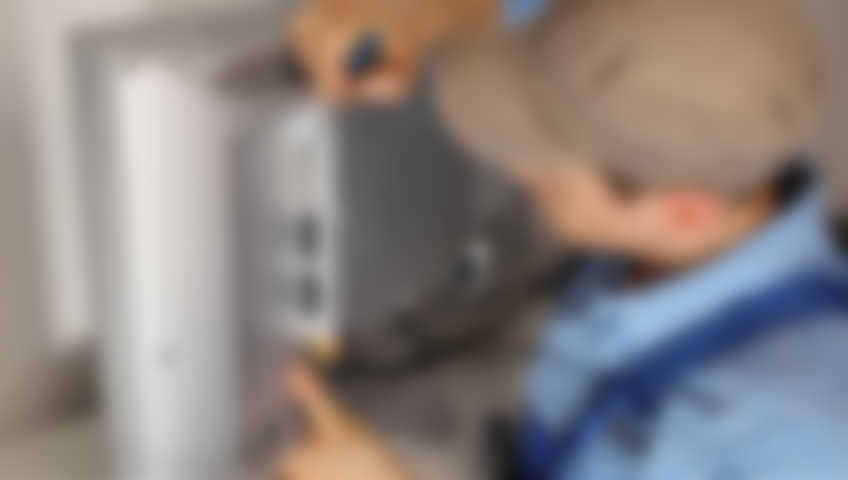
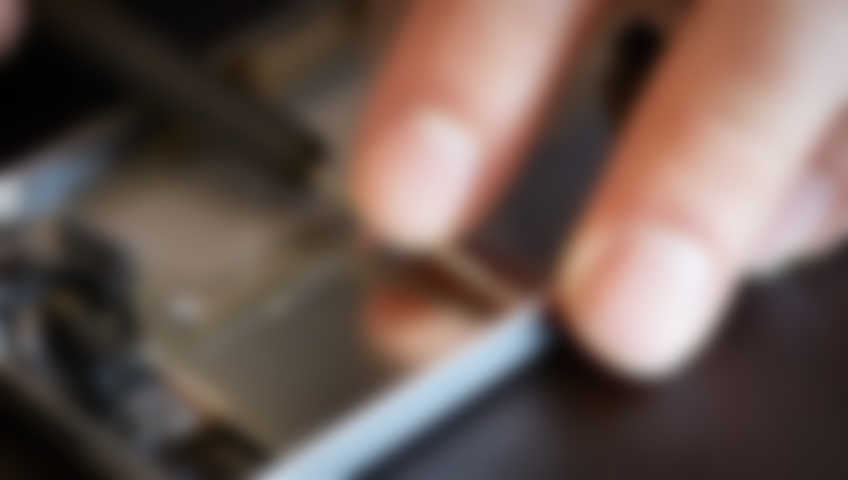
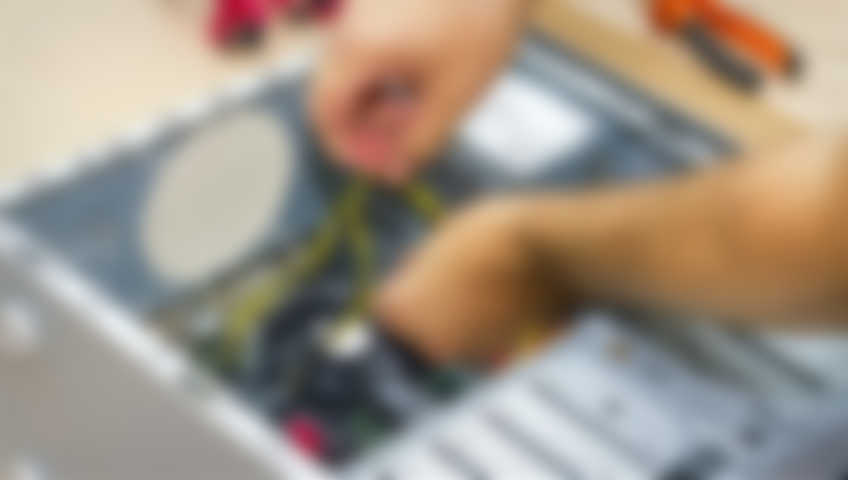
Damaged – DC JACK PORT ON LAPTOPS

Damaged DC Jack Port on Laptops

One of the most common issues laptop users encounter is a damaged or malfunctioning DC jack port. This problem typically arises from the physical stress of constantly plugging and unplugging the power cable, or from accidental impacts like dropping the laptop or tripping over the power cord. Over time, these actions can loosen or damage the internal connections within the DC jack, leading to intermittent power supply or a complete failure to charge. Noticing your laptop not charging properly, experiencing sudden power cuts, or hearing a loose rattle when you move the power plug are telltale signs that your DC jack might be compromised.

Addressing a damaged DC jack involves assessing the extent of the damage. If the issue is minor, like a loose connection, a simple tightening might suffice. However, more often than not, the problem requires professional attention. The repair process can vary from simply soldering the connection back to its place if the port itself is still functional, to replacing the entire jack if it’s physically broken or excessively worn. It’s crucial to entrust this repair to a skilled technician since the DC jack is soldered directly onto the motherboard, and improper handling can lead to further damage or even motherboard failure.

Prevention is always better than cure when it comes to laptop maintenance. To avoid DC jack issues, users should handle the power cord with care, avoiding sharp angles or pulling the plug out by the cord. Using a laptop on a stable, flat surface can also prevent undue stress on the jack from the weight of the laptop. Additionally, investing in a high-quality charger compatible with your laptop can reduce the risk of damage. If you find yourself in need of repair, consider the cost-effectiveness of fixing versus buying a new device, especially if your laptop is older or if the repair costs approach half the price of a new model. Remember, while fixing a DC jack can extend your laptop’s life, it’s also an opportunity to consider the overall health and future usability of your device.

9.62s
How can Grok help?

By admin / Uncategorized / / 0 Comments

Replacing laptop lcd screens

Replacing the LCD screen of a laptop can extend the life of your device significantly. Whether you own a Dell, HP, Lenovo, Apple, or any other brand, the process generally follows similar principles, but specifics can vary by model. It’s crucial to identify your laptop’s exact model number to ensure compatibility with replacement screens. Websites like LaptopScreen.com provide a vast selection of screens for various makes and models, offering same-day shipping and support to help you find the right part. Before you begin, ensure you have the right tools, including precision screwdrivers, a plastic pry tool, and possibly an anti-static wrist strap to protect against static discharge.

The actual replacement process involves disassembling parts of your laptop to access the screen. Start by powering down your laptop, removing the battery, and grounding yourself to prevent static damage. Remove the bezel, which is often held in place by screws hidden under rubber plugs or stickers, or by clips that require careful prying. Once the bezel is off, you’ll need to unscrew the brackets holding the screen in place. Disconnect the video cable, which is typically secured with tape or a small clip, and gently remove the old screen. Installing the new screen involves reversing these steps, ensuring all connections are secure and no cables are pinched or twisted. Guides specific to your laptop model are available on platforms like YouTube or iFixit, offering step-by-step instructions and highlighting model-specific quirks.

After installing a new screen, it’s wise to double-check all connections before reassembling your laptop. Post-installation, boot up your device with an external monitor connected to verify functionality before securing the new screen back in place. If the screen doesn’t work, double-check the connections or ensure that the screen is compatible with your model. If you’re not confident in performing the replacement yourself, or if your laptop has a touchscreen or other complex features like an integrated digitizer, consider professional repair services. Companies like Micro Center offer in-store installation services, ensuring your laptop’s screen replacement is done correctly, maintaining warranty coverage where applicable. Remember, while replacing a screen can be a cost-effective way to repair your laptop, doing so might void your warranty if not performed by authorized service providers

Among the most common causes of data loss are sudden power outages, which can interrupt data operations, leaving files partially written or corrupted. This is particularly critical for SSDs where data integrity relies heavily on correct power management. To mitigate this risk, using uninterruptible power supplies (UPS) can be beneficial. Another preventive measure includes regular backups. Implementing a robust backup strategy, whether through local storage, cloud services, or both, can safeguard against data loss. Additionally, users should be cautious with software; updating firmware and using reliable antivirus programs can prevent data corruption from malicious software. For SATA drives, regular maintenance like checking for bad sectors can also extend the life of the drive.

Recovery Techniques and Professional Assistance

When data loss does occur, immediate action can sometimes lead to successful recovery. For SATA drives, using recovery software can retrieve data from sectors that are not physically damaged. However, physical damage often requires professional intervention where experts can open drives in clean environments to repair or retrieve data. SSDs pose unique challenges due to their architecture but can also benefit from software recovery methods if the issue is logical rather than physical. If DIY recovery fails or if the data is particularly valuable, it’s wise to consult with data recovery specialists. They possess the tools and expertise to deal with complex recovery scenarios, although this comes at a cost and with no guarantee of success. Always remember, the best approach to data loss is prevention, but when it does happen, acting quickly and wisely can make all the difference.

By admin / Mac & PC repair / / 0 Comments

Understanding Noisy Computers

Noisy computers can be both a nuisance and an indicator of underlying hardware issues. The most common sources of noise include cooling fans, hard drives, and power supply units (PSUs). Fans, in particular, are notorious for becoming loud over time due to dust accumulation or bearing wear. Hard drives can also generate a clicking or grinding sound if they are failing or have mechanical issues. Similarly, a PSU might produce a high-pitched whine if its components are stressed or failing. Recognizing the type of noise can help pinpoint which piece of hardware might be the culprit.

Common Hardware Problems Leading to Noise

Several hardware problems often lead to increased noise in computers. For one, dust buildup inside the computer can obstruct airflow, causing fans to work harder and thus, become noisier. Over time, this can lead to fan bearings wearing out, making them even louder. Another frequent problem is with the hard disk drives (HDDs); a failing HDD might start making unusual noises like clicking or grinding, which are signs of imminent failure. Additionally, if the power supply isn’t up to the task of handling the system’s load, it can produce buzzing or humming sounds, especially if its fan or internal components are under strain or if there’s loose wiring.

Solutions to Reduce Noise and Address Hardware Issues

To mitigate noise from computers, regular maintenance is key. Cleaning the internals to remove dust, especially from fans, can significantly reduce noise levels. If fans are the problem, replacing them with quieter alternatives or adding fan speed controllers can help manage noise. For hard drives, backing up data and replacing a noisy or failing drive with a new one, preferably an SSD which is inherently quieter, is advisable. If the noise is coming from the PSU, consider upgrading to a higher quality or modular unit that not only operates more quietly but also stabilizes the system’s power delivery. Lastly, ensuring that all components are well-seated, cables are managed properly, and the case has adequate airflow can reduce both noise and heat, extending the life of the hardware.

The Impact of Dust and Dirt on Laptop and Desktop Computer Performance

Dust and dirt are more than just nuisances; they can significantly impair the performance and longevity of both laptops and desktop computers. When dust accumulates inside a computer, it acts as an insulator, trapping heat that is supposed to be dissipated by cooling fans and heat sinks. This can lead to excessive heat buildup within the system, causing components like the CPU and GPU to throttle their performance to manage temperatures. Over time, this can lead to thermal stress on components, potentially shortening their lifespan or causing failures. Moreover, dust can obstruct air vents, reducing airflow and exacerbating overheating issues, which might result in unexpected shutdowns or reduced performance during intensive tasks.

Beyond thermal issues, dust can also affect other hardware components. For instance, it can settle on circuit boards, creating pathways for short circuits or even causing corrosion in a humid environment. Optical drives, if present, are particularly susceptible where dust can degrade the lens, leading to read errors or failure to recognize discs. On laptops, dust can enter through the keyboard, affecting the functionality of keys or causing them to stick. In desktops, where there’s often more exposed area for dust to accumulate, fans can become unbalanced or noisy, impacting not only performance but also the acoustics of the system, making normal operation louder and more intrusive.

Regular maintenance is crucial to mitigate these effects. Cleaning the internals of a computer, including fans, vents, and heatsinks, should be part of routine care, ideally done every 6 to 12 months, depending on the environment. Using compressed air or specialized cleaning tools can help remove dust without damaging components. For laptops, additional care should be taken with the keyboard and ports. For users in dusty environments, considering external solutions like dust filters for intake vents might be beneficial. By keeping devices clean, users can ensure better performance, extend hardware life, and avoid the costs associated with premature component failures or data loss due to overheating-induced crashes.

How to Figure Out if Your Processor is Overheated?

One of the first signs that your processor might be overheating is a noticeable performance decrease. Your computer might start to run slower, lag, or even freeze unexpectedly. This is because most modern processors have a thermal throttling mechanism that reduces performance to prevent damage from excessive heat. If you’re experiencing these symptoms, particularly during tasks that are known to be processor-intensive such as gaming or video editing, it’s a good idea to check your CPU’s temperature.

To monitor your CPU’s temperature, you’ll need to use software specifically designed for this purpose. There are several free applications available like Core Temp, HWMonitor, or Speccy which can display real-time temperatures of your processor. Install one of these tools, run it, and observe the temperatures under normal and heavy load conditions. A healthy CPU temperature under load typically shouldn’t exceed 80°C (176°F), though this can vary slightly depending on the processor model. If your CPU is consistently running hotter than this, it’s likely overheating.

Physical inspection can also provide clues about overheating. Check if your computer’s fans, especially the one cooling your CPU, are working properly. Dust can accumulate and block airflow, leading to higher temperatures. Open your PC case and inspect for dust build-up around the CPU heatsink and fans. If you notice excessive dust, clean it with compressed air or a soft brush. Also, ensure the thermal paste between the CPU and its heatsink is not dried out, as this can significantly reduce cooling efficiency. If you’re not comfortable doing this yourself, consider professional cleaning or reapplication of thermal paste.

Lastly, consider environmental factors and system configuration. The ambient temperature of the room where your computer is located can affect CPU temperatures; a room that’s too warm can exacerbate overheating issues. Also, check if your computer case has adequate ventilation. Some cases might be designed for aesthetics but offer poor airflow. If you’ve recently overclocked your CPU, this could be pushing your processor beyond its cooling capabilities. Reverting overclock settings to default might help manage temperatures better. If after all these checks your CPU is still running hot, you might need to upgrade your cooling solution, either to a better air cooler or consider liquid cooling for more effective heat dissipation.